These lightweight mini camping stoves are easy to make and a great addition to every backpacking kit. I have built and tested different models and this is by far my favorite design.
MAKING THE HITCHHIKER'S KITCHEN
How to build an alcohol stove
It is easy to build with a few simple tools and one drinks can. It takes me around 30 minutes to turn a soda can into the perfect little stove.
The building instruction
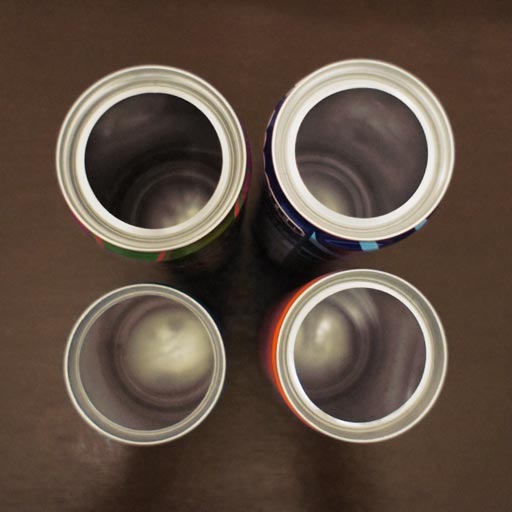
The building materials - one aluminum drink can. I collect, rinse and recycle the ones I find lying around. I get the main material for free and clean up the neighborhood (because of pandemic I buy my own cans at the moment).
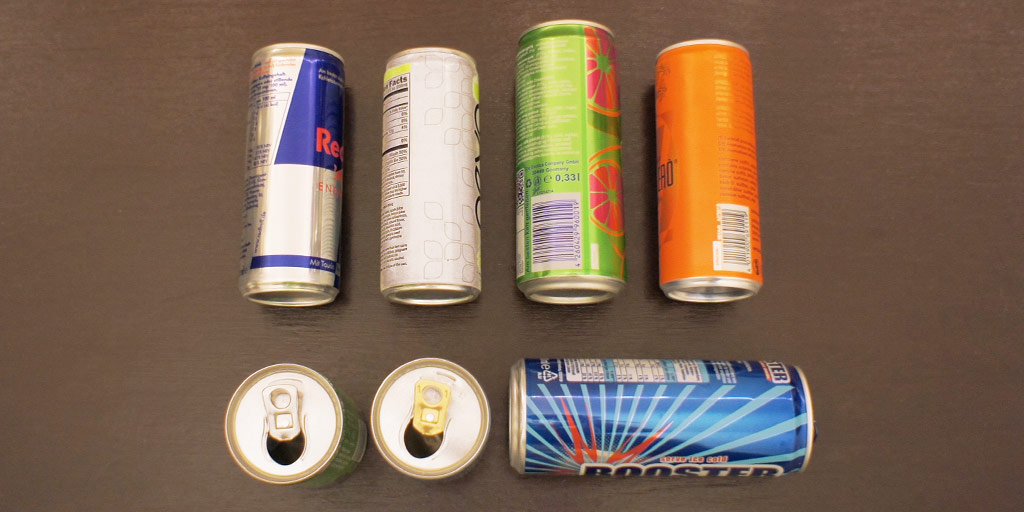
I tried different soda cans and I prefer building my stoves with sleek cans (energy drinks, coffee shots and sparkling wine). The top and the bottom made from a slim can (200/250ml or 6.7/8.4 Fl Oz) will have a good fit.
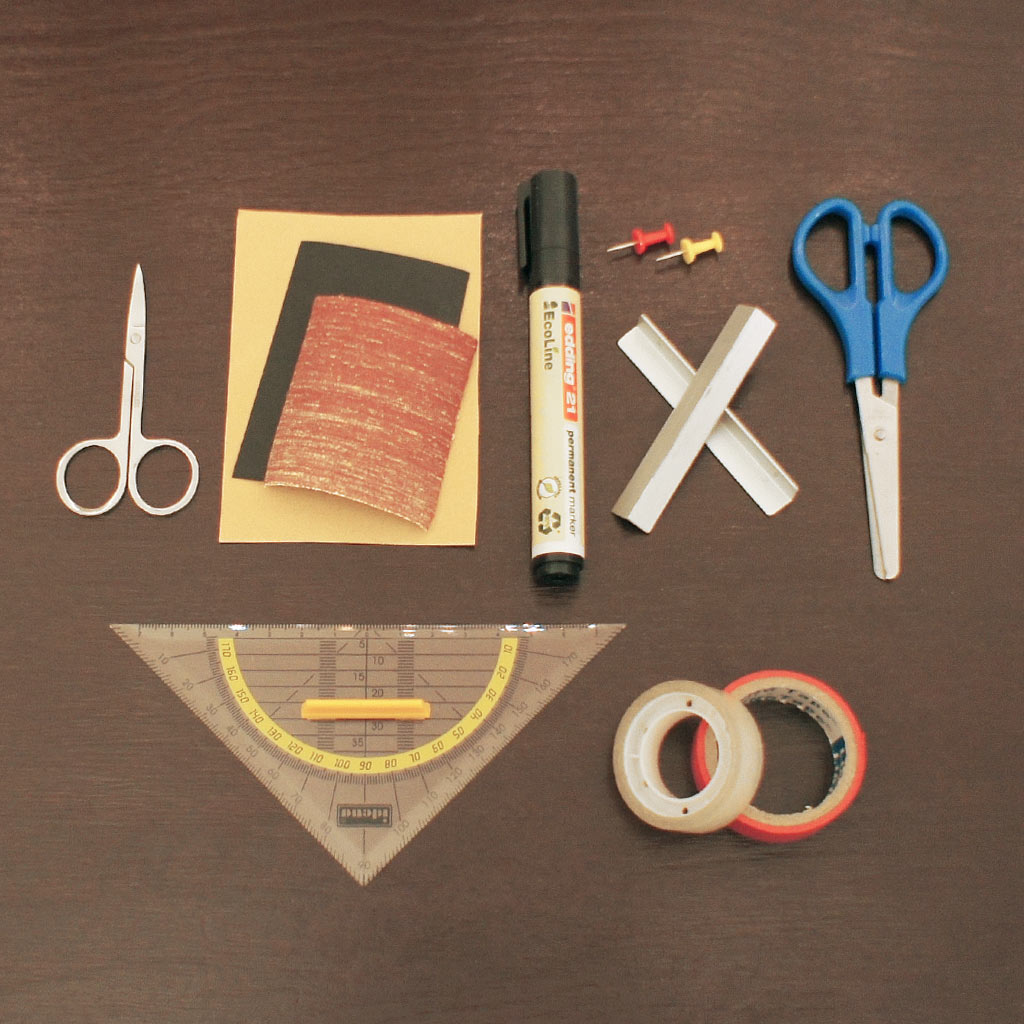
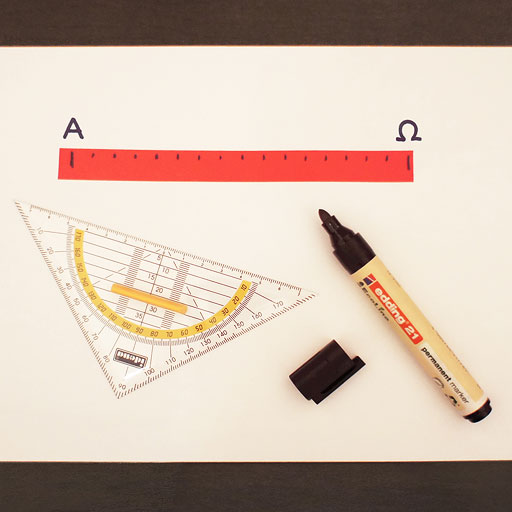
The tools - a pair of sturdy nail scissors, a piece of sandpaper, a marker, a pin (or sewing needle), a piece of aluminum corner guard, some sticky tape and a measuring tool (ruler, set square or tape measure). The second pair of scissors is optional.
Combined, they make a lightweight and multipurpose kit that fits into every backpack and makes it easy to build alcohol stoves anywhere.
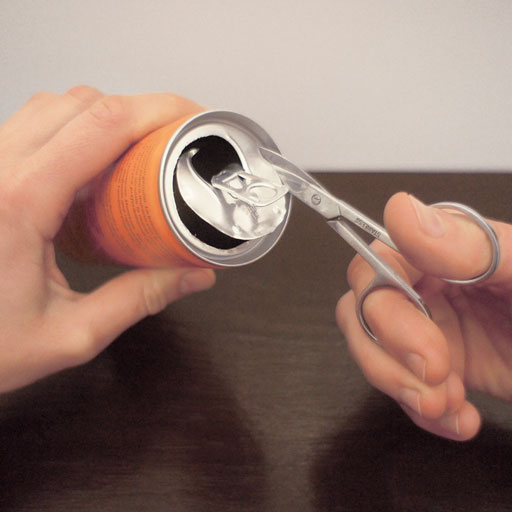
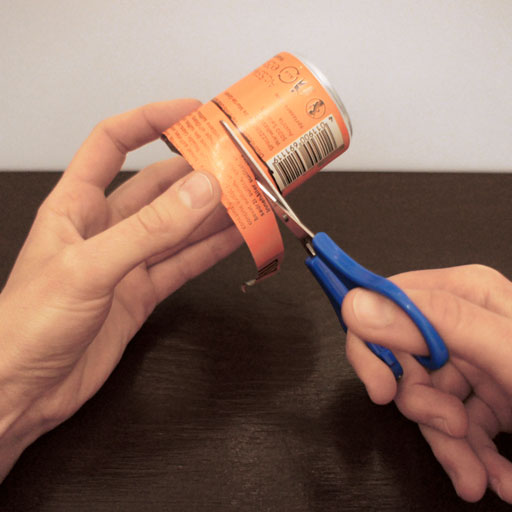
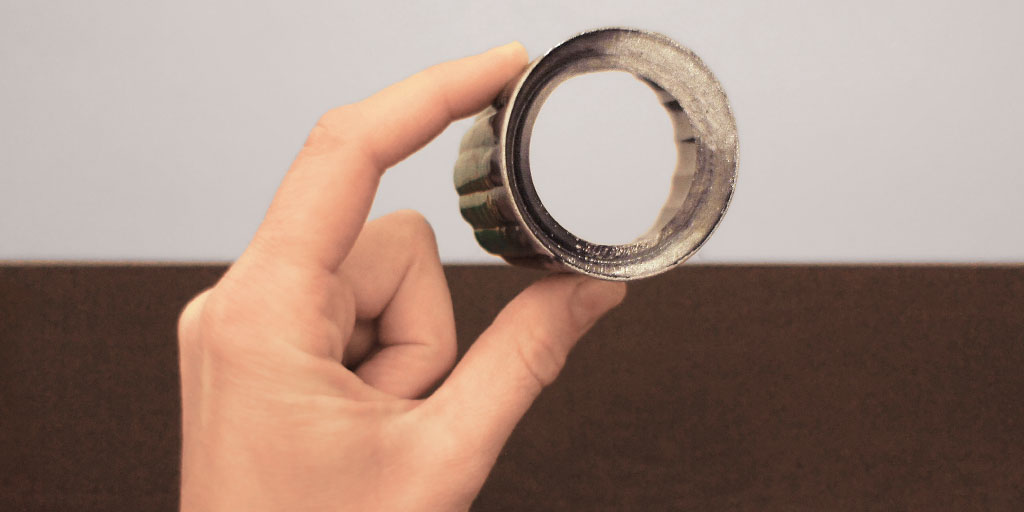
First I use the nail scissors to cut out the lid of the can.
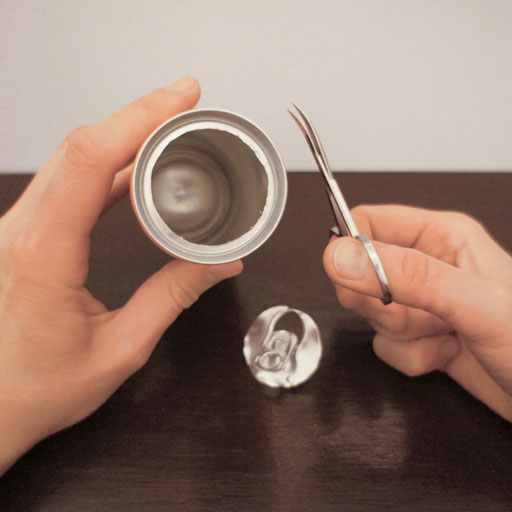
The edge will be a little bit jagged. I use sandpaper to smooth it out.
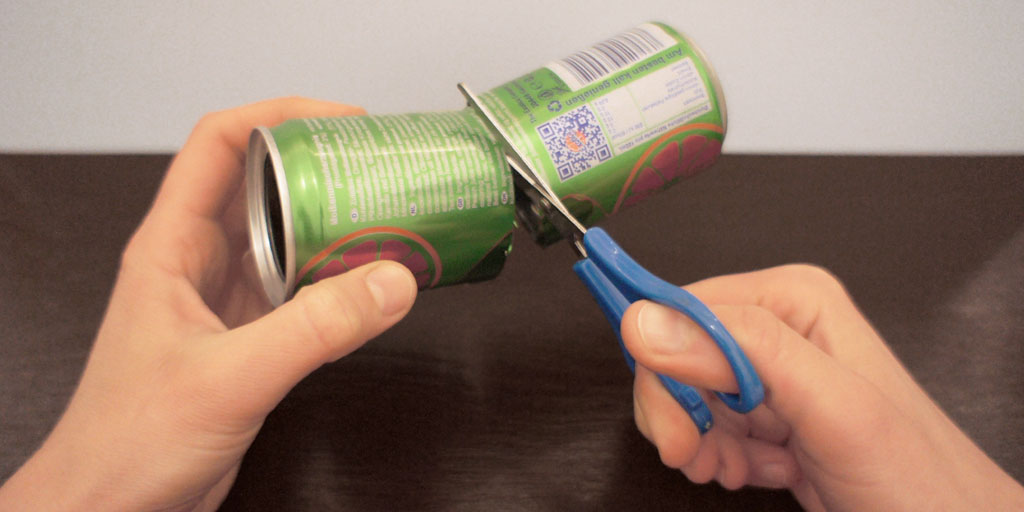
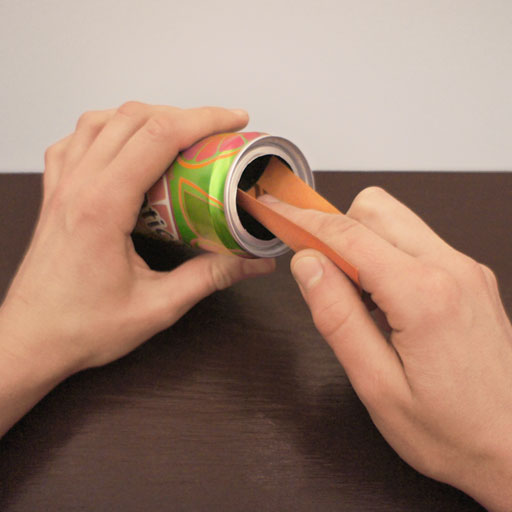
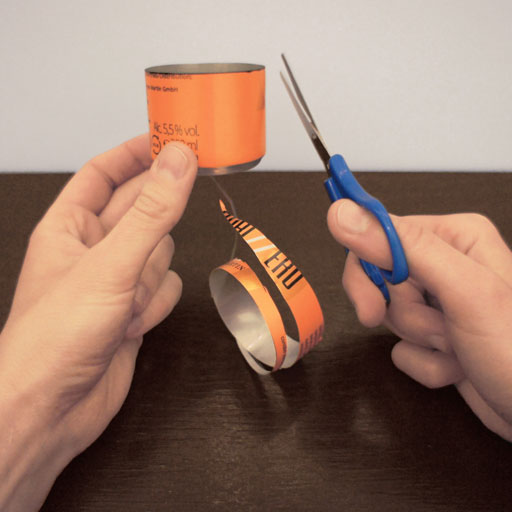
Next I use a pair of scissors to punch a little hole into the middle of the can and cut it in half. This doesn't have to be pretty.
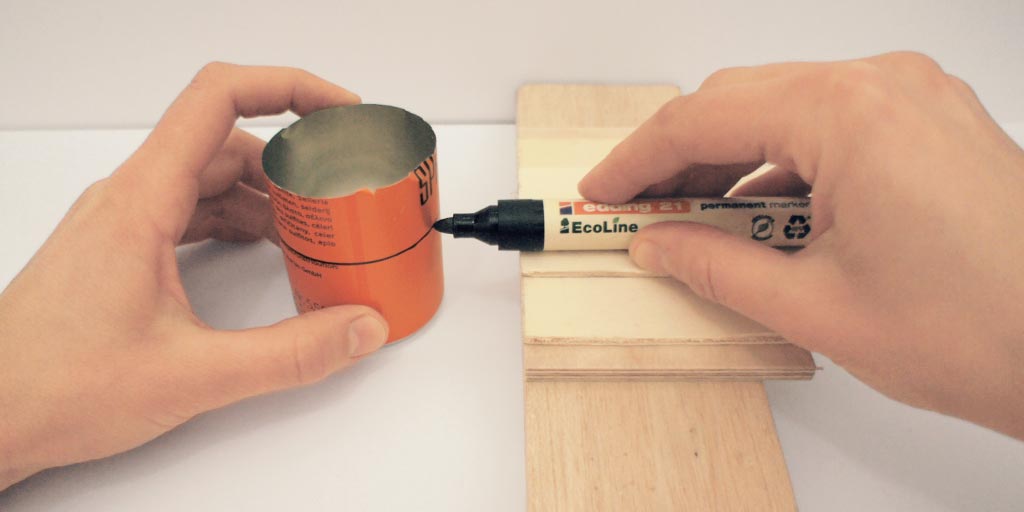
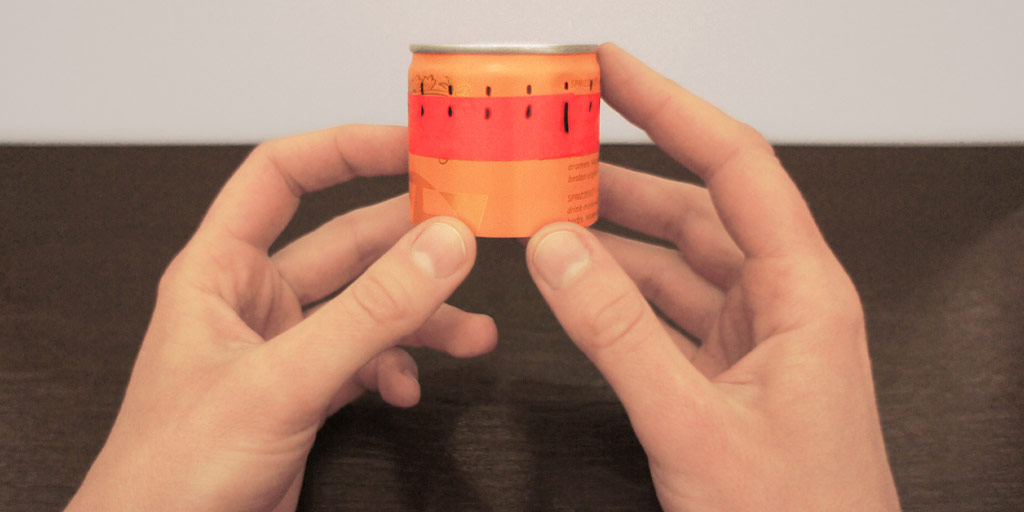
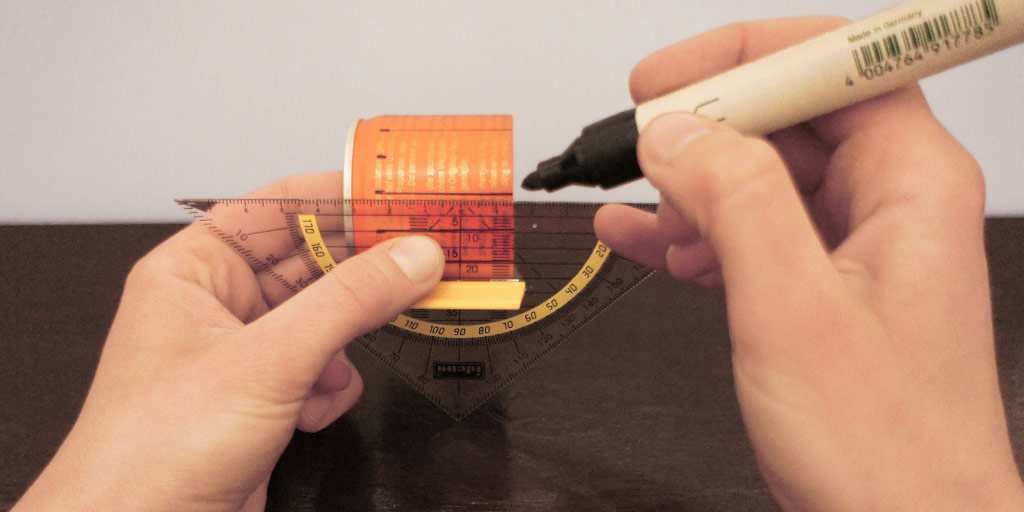
I place a marker on top of some pieces of wood or one thick book and keep it steady. By slowly turning and pressing the can against the pen I get a clean and even mark all around. I mark the top at 5 cm (2") and the bottom at 4,6 cm (1.8"). The height of the finished alcohol stove will be around 5,5 cm (2.2").
I also build a smaller and lighter version that fits perfectly in my DIY pot stand. I mark the top at 4 cm (1.6") and the bottom at 3,6 cm (1.4"). The height of the tiny alcohol stove will be around 4,5 cm (1.8").
Taller stoves lose pressure and sputter, and smaller ones need to be refilled frequently.
After measuring and marking the correct heights, I cut the top and the bottom down to the right size.
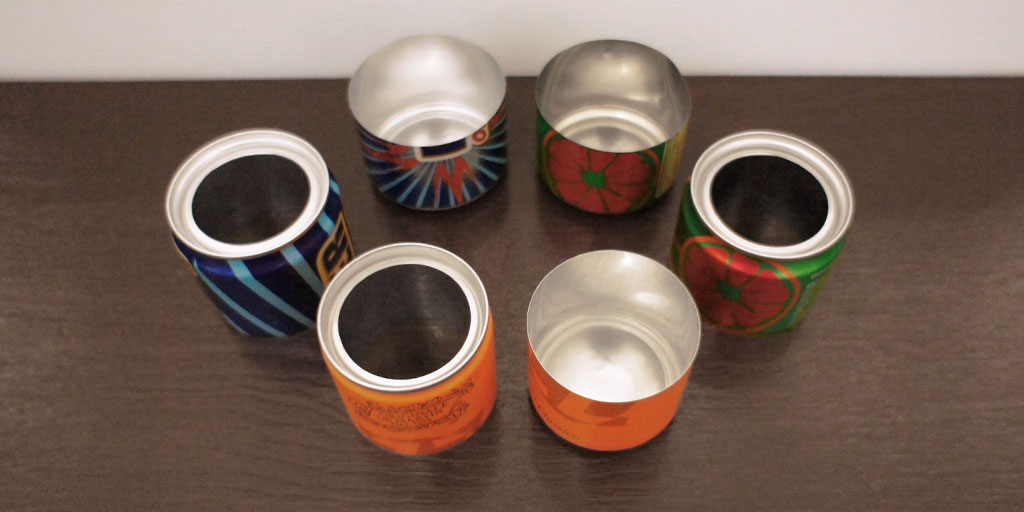
The result will look something like this. The little camping stove is taking shape.
Next I need to divide the circumference of the can into 16-18 sections.
I wrap a piece of tape around the top and mark the overlap. One mark at the beginning and one at the end. The Α and the Ω of the sticky tape. I take the tape off and stick it down on a flat surface. I measure the distance between Α and Ω and divide it into equal sections. I put the tape back on and transfer the sections.
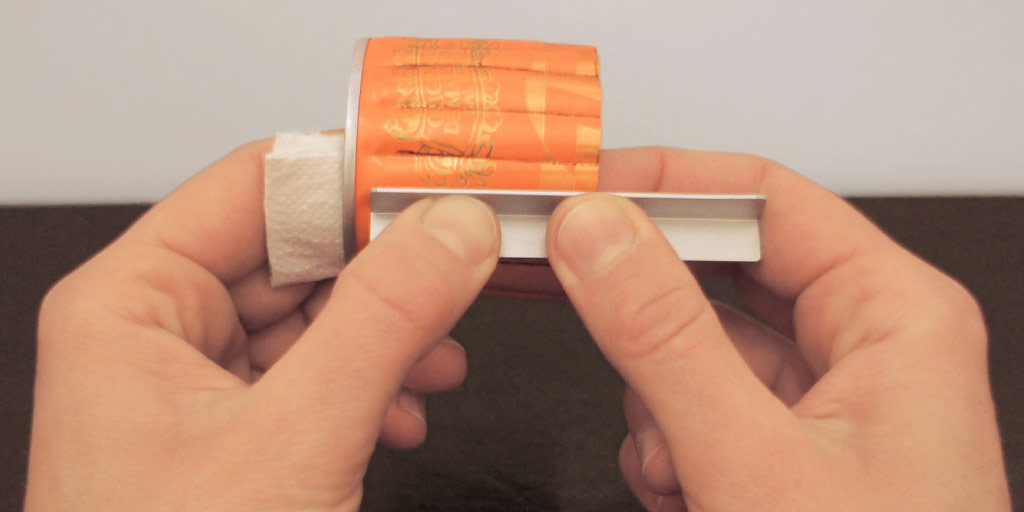
I mark the individual sections on the can and dent the aluminum with the corner guard. A tissue paper placed between the rim and my fingers prevents a cut.
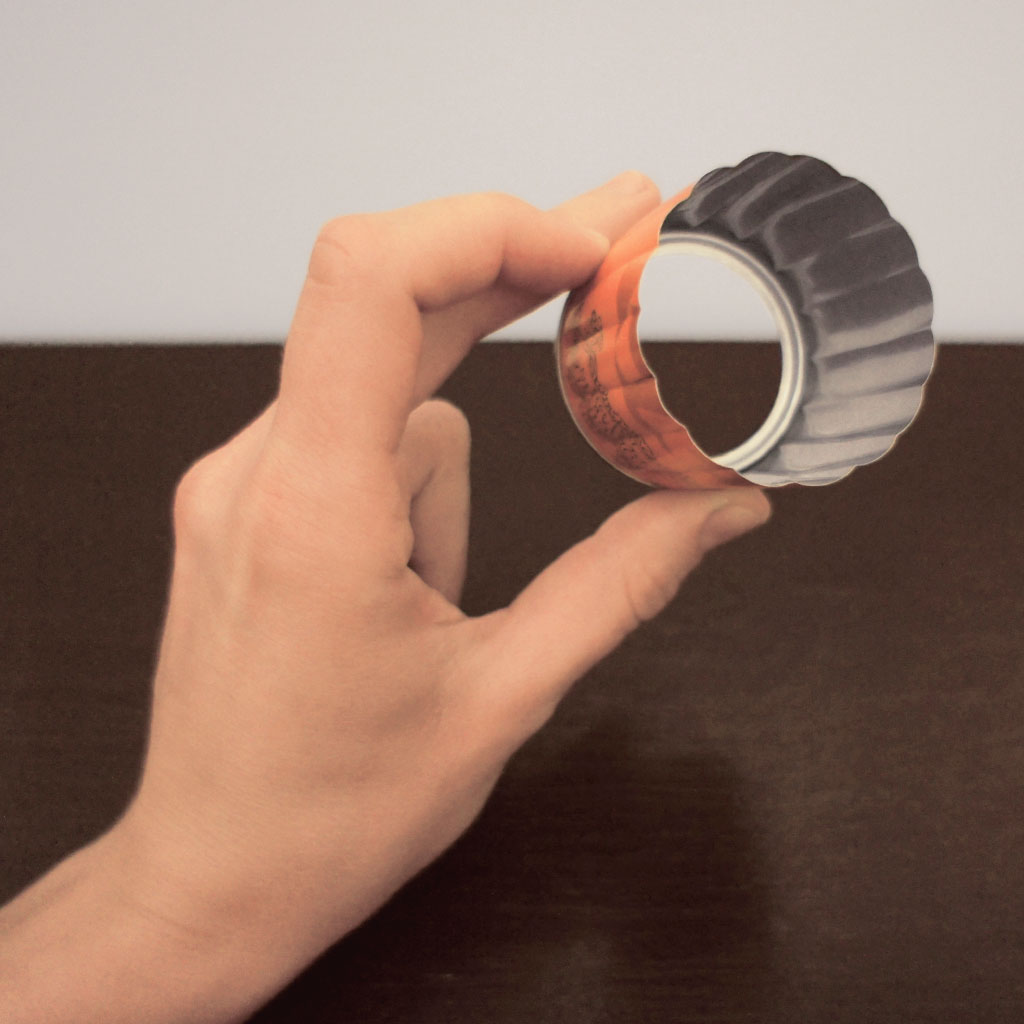
This is what the finished top will look like.
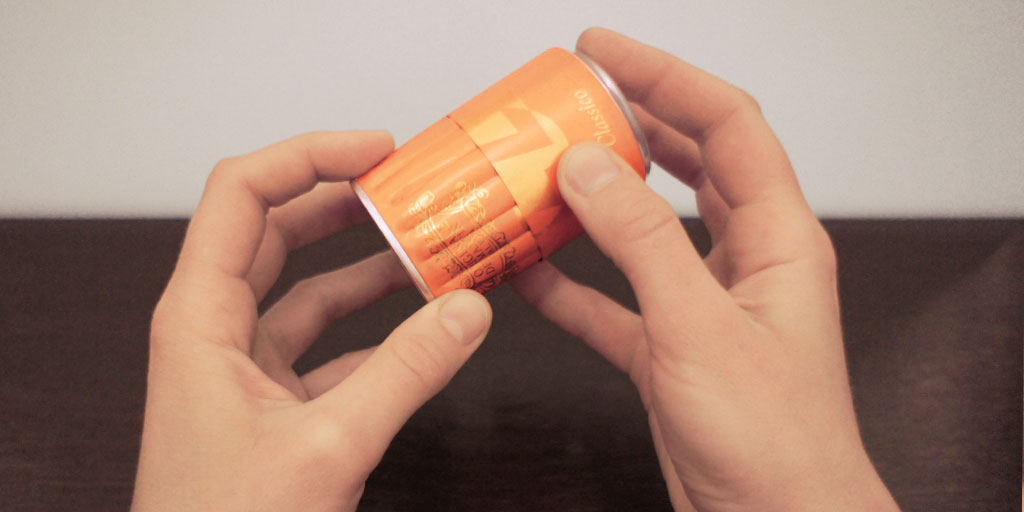
Now I combine the top and the bottom.
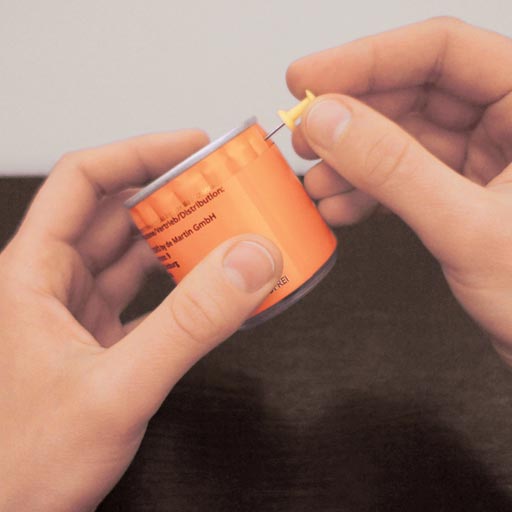
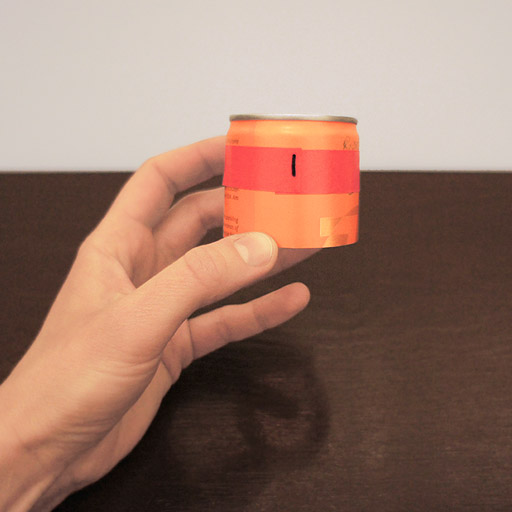
In the last step I use a pin or a needle to poke a little air hole into the top. It is a little safety feature. If the top gets covered, the hole will enable the flow of oxygen and regulate the pressure inside.
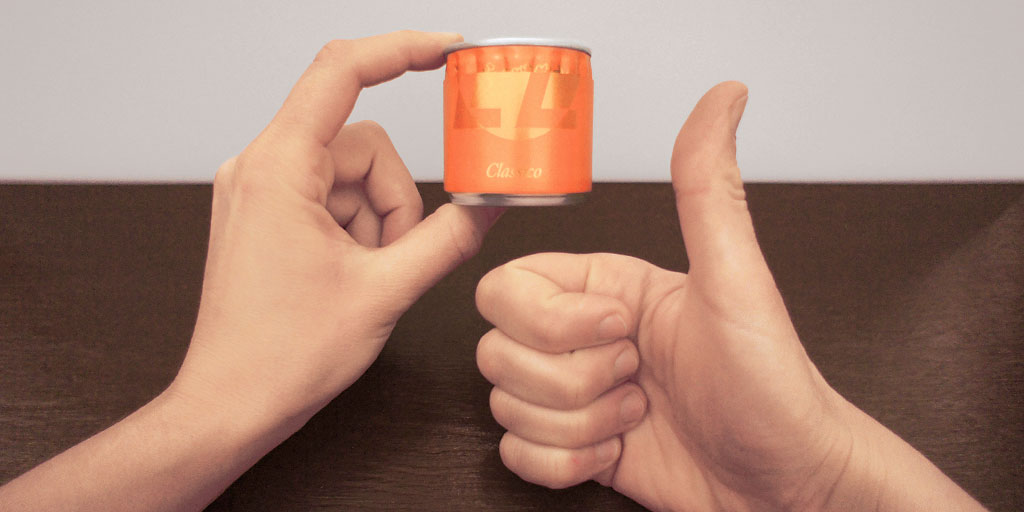
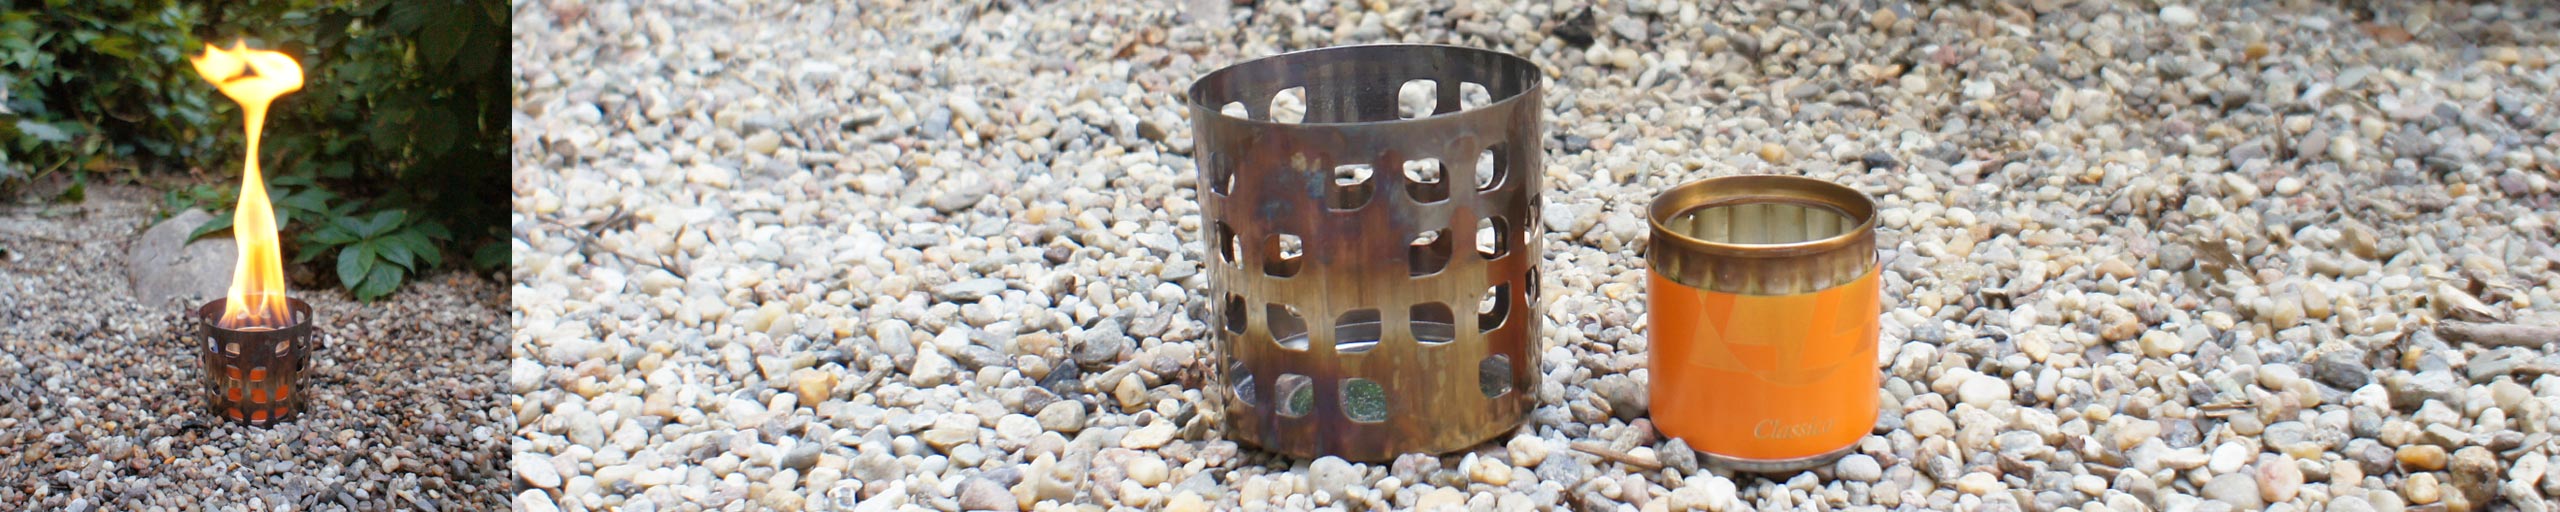
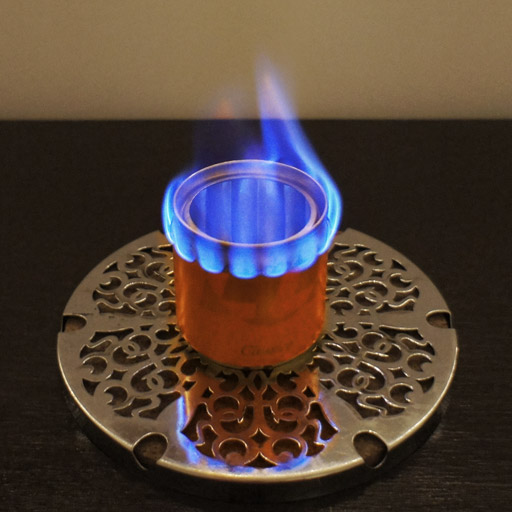
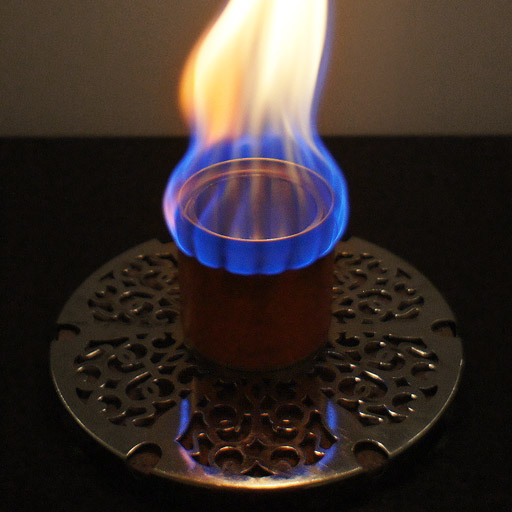
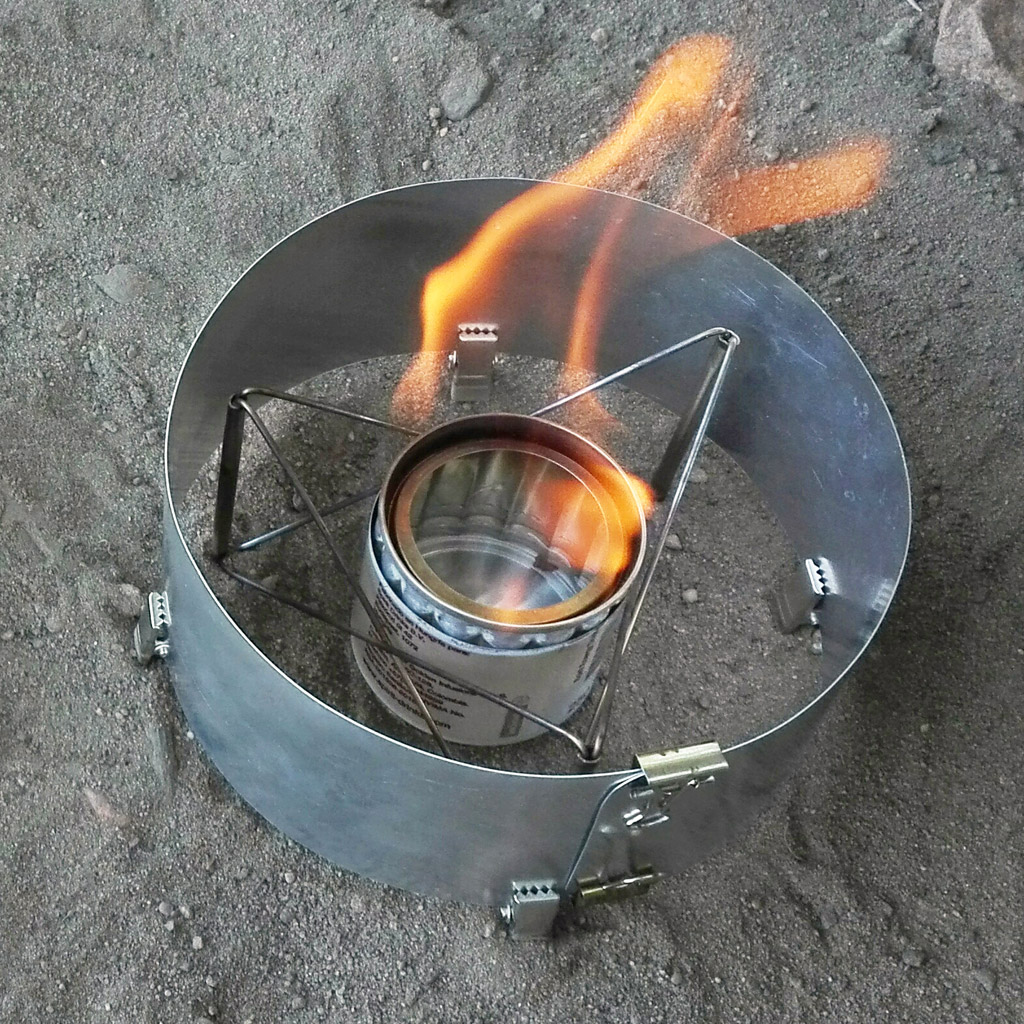
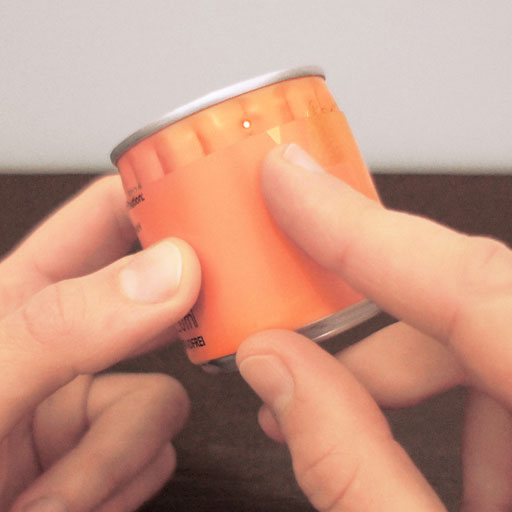
The finished alcohol stove is ready for adventure.
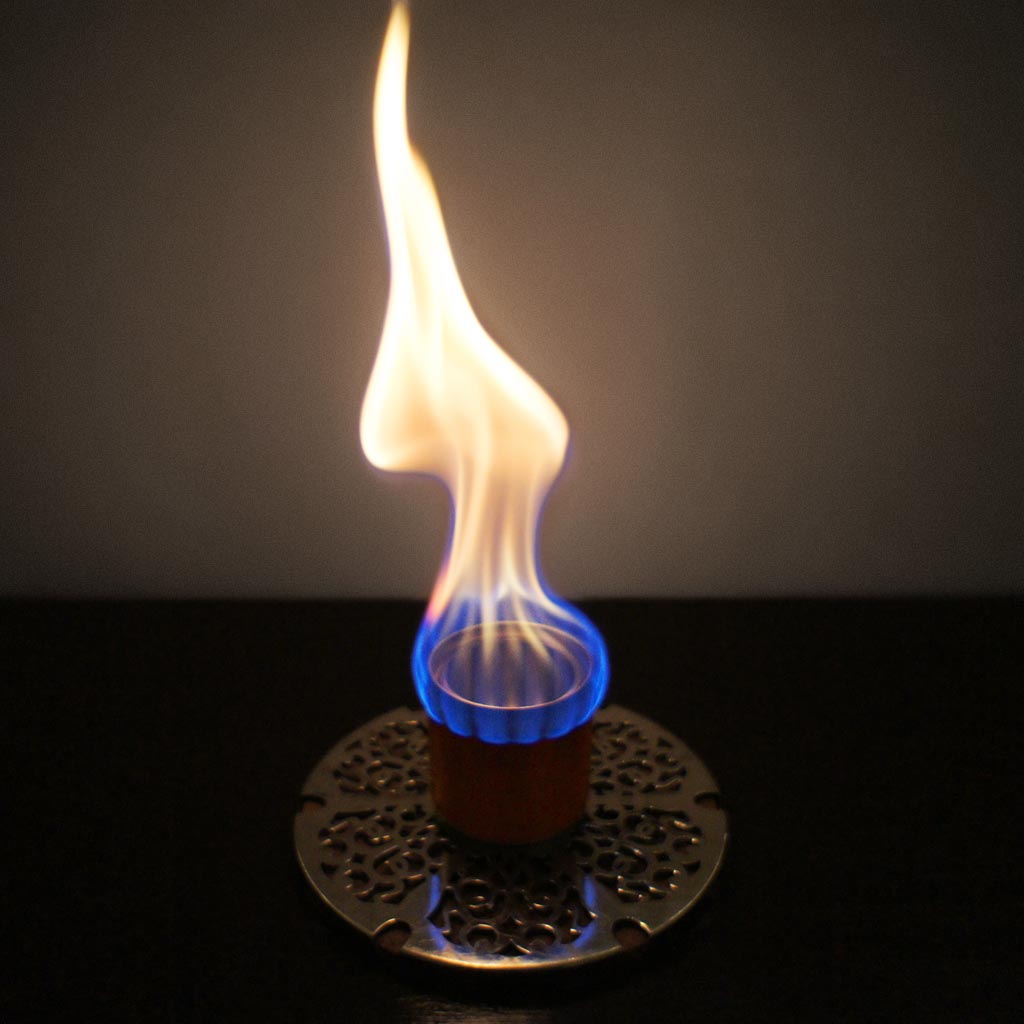
A quick burn test. I am pretty pleased with this one.
Fail! Aluminum isn't always aluminum. The top of this stove melted during the burn test and stank up my kitchen. I always crack a window and keep the room proper ventilated when I am doing a quick test. Because of noxious fumes alcohol stoves are best used outdoors.
Disclaimer: Build and use an alcohol stove at your own risk! Handle and use your tools and flammable substances safely. Use caution and common sense. If you do not understand these instructions, have a tendency to hurt yourself, are prone to accidents or repeatedly damage things, than don't try this at home or outdoors ! Hands off !
Please visit this page for more info on how to safely use an alcohol stove !
Send me an email if you do have a question or build an awesome little alcohol stove and want to share the result:
team ⓐ heldenstuff . red
(anti spam bot e-mail address. copy & paste won't work. type it in.)


